Why Centering Feels Impossible
Centering clay on the wheel is where most people hit their first real wall. You're spinning clay, applying pressure, and nothing's happening. Or worse — the clay suddenly flies off. It's frustrating because it looks simple when someone else does it. But here's what's actually happening: centering isn't one skill. It's three separate things working together, and if any one's off, the whole thing falls apart.
The good news? Once you understand what's going wrong, you can fix it. Most people see real improvement in 3-4 weeks of consistent practice. Not perfect centering, but solid, usable clay.
The Three Things That Break Centering
Centering fails for one of three reasons. Sometimes it's all three at once. But usually? It's one thing dominating the problem.
1. Hand Position
Your hands are either too high on the clay, too low, or not bracing against the wheel frame. If your hands float above the clay, you've got no stability. The clay's moving, your hands are moving, and nothing's centered.
2. Wheel Speed
Too slow and the clay won't respond to your pressure. Too fast and the clay becomes harder to control — it wants to fly outward. The sweet spot's usually around 60-80 RPM for beginners. Not a rule, just a starting point.
3. Pressure Application
You're either squeezing the clay too hard — which creates tension and actually throws it off center — or barely touching it. Steady, gentle pressure wins. Think "guiding" not "fighting."
The Centering Adjustment Most People Miss
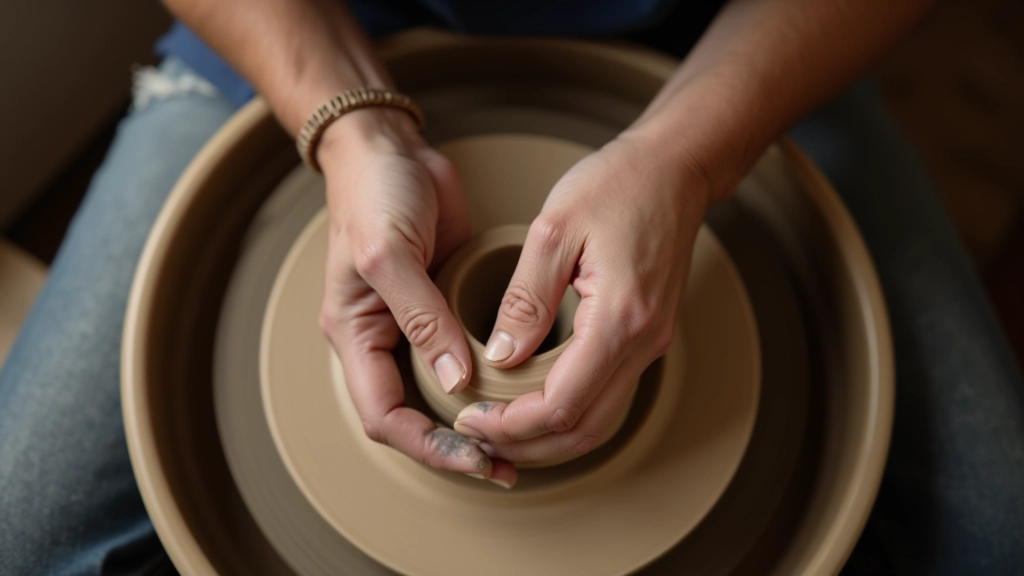
You're probably bracing your hands against the wheel frame, which is good. But here's what most beginners don't do: they don't anchor their forearms on their thighs. That's where stability comes from. Your whole arm becomes one unit. Once you do that, centering becomes less about arm strength and more about gentle, consistent pressure.
The Three-Step Fix That Works
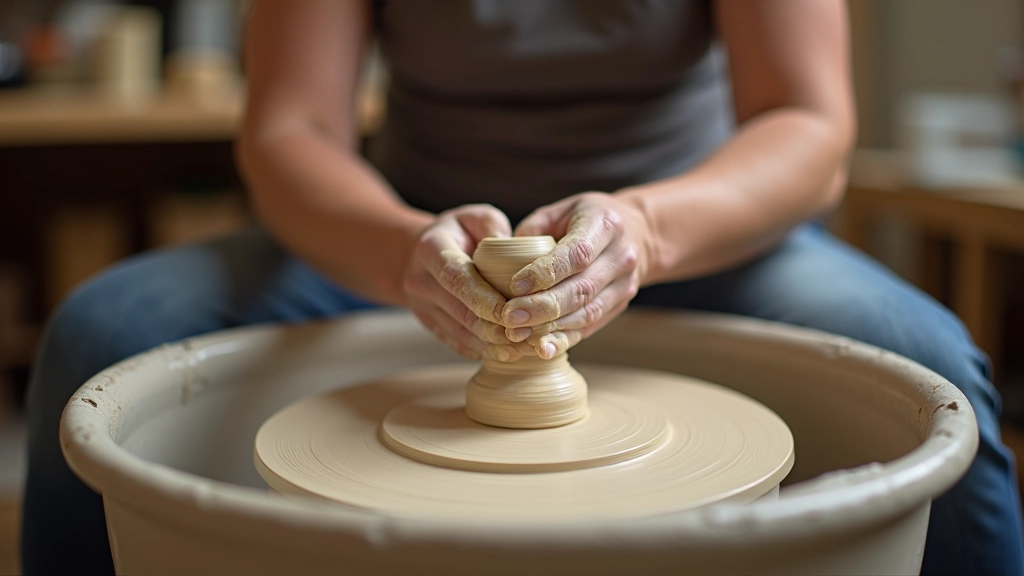
Don't try to center a massive amount of clay. Start with something small — about 500 grams. Rough it into a ball, stick it on the bat, and get the wheel spinning at 60 RPM.
Get Your Hands Stable
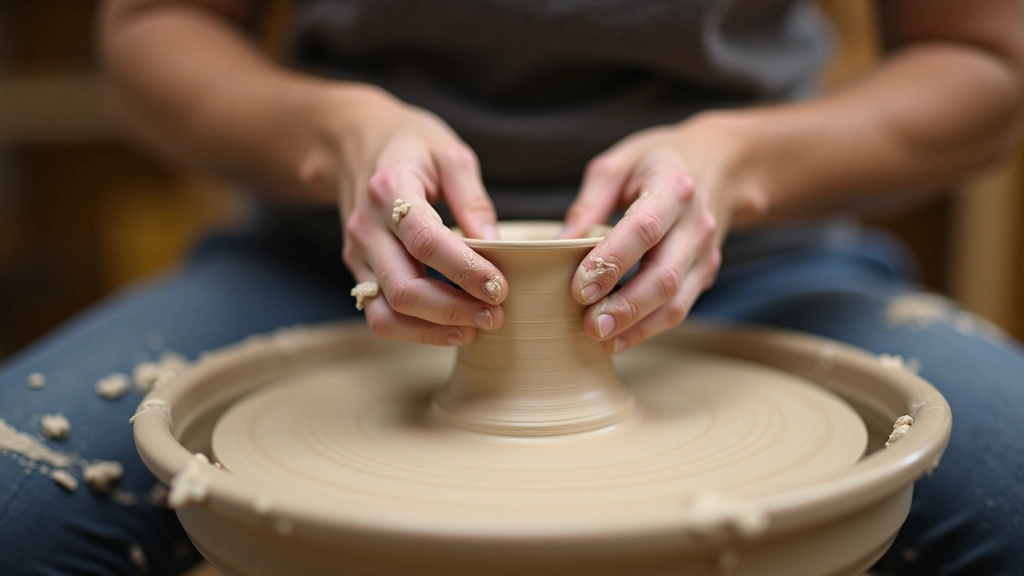
Brace your forearms on your thighs. Your right hand (assuming right-handed) goes on the side of the clay, thumb pointing toward the center. Left hand goes on top, fingers gentle. Both hands are now anchored. You're not floating. This is the biggest difference between wobbling clay and centered clay.
Apply Gentle Inward Pressure
Slowly push the clay toward the center. You're not squeezing. You're guiding it inward. If you feel the clay resisting or the wheel wobbling, you're pressing too hard. Back off. The clay will tell you when it's centered — it'll feel smooth, not like you're fighting it.
Watch the Clay, Not Your Hands
Look at the clay from the side as it spins. If it's wobbling side to side, it's not centered. If it's smooth and consistent, you've got it. Don't overthink the hand position once it's anchored. Just watch the clay and feel the wheel.
How Long Until You Get It?
Real talk: centering takes time. You won't nail it in your first session. But if you practice 2-3 times a week for 4 weeks, you'll have it. That's 8-12 sessions of focused practice. Some people get there faster. Some need longer. It depends on hand strength, feel for the material, and how much you practice between sessions.
The first sign it's working? You'll stop fighting the clay. It'll feel less like you're wrestling something and more like you're coaxing it into shape. That shift usually happens around week 3.
About This Guide
This article is educational and designed to help beginners understand centering techniques. Every potter's experience is different — hand size, wheel setup, and clay consistency all affect results. If you're learning in a class or workshop, follow your instructor's guidance. The techniques here are general approaches, not rigid rules. Pottery is as much about feel as technique.
The Bottom Line
Centering isn't magic. It's not something you either can or can't do. It's a skill that builds over time. You'll have off days where it's harder than usual — maybe the clay's different, maybe you're tired, maybe the wheel speed's off. That's normal. The fact that you're struggling now doesn't mean you won't get there. Most people do.
Focus on hand position and stability first. Get that locked in, keep the wheel speed moderate, and use gentle pressure. The centering will follow. And once you've centered clay a hundred times? You'll stop thinking about it and just do it. That's when it gets fun.