
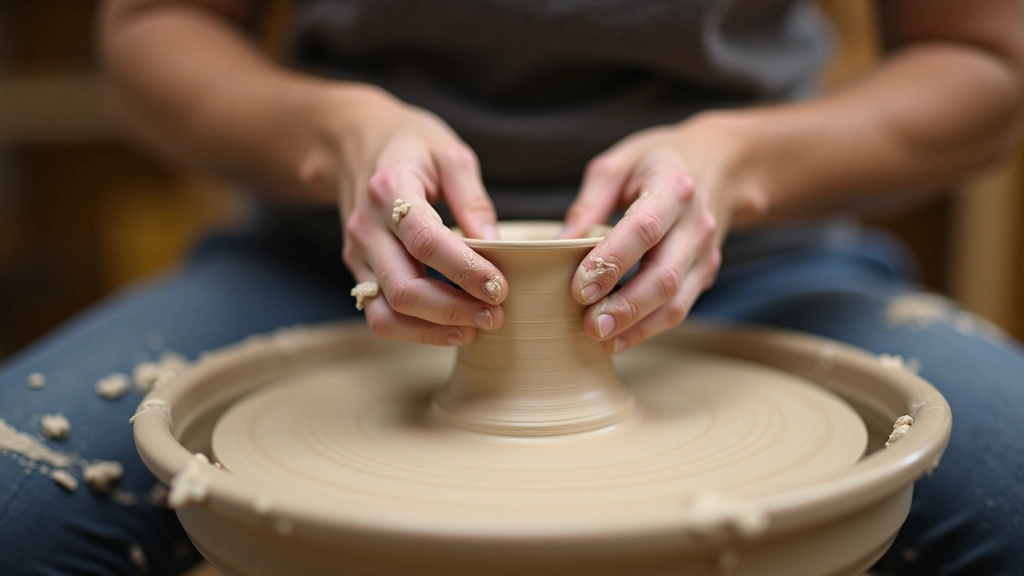
Centering Clay: The Foundation Everyone Struggles With
Why centering feels impossible at first, what's actually going wrong, and the techniques that make it click.
The five mistakes that show up in almost every beginner's work, what causes them, and the specific adjustments that correct each one.
Author
Editorial Team
Written by the Pottery Wheel Editorial Team, focused on clear, practical guidance for beginners learning to throw and glaze pottery.
You'll notice them instantly once you know what to look for. A piece that's too thin will wobble. Walls that aren't consistent will collapse mid-throw. The clay won't center properly if your hands aren't positioned right. Most beginners struggle with all five of these issues in their first few weeks, which is completely normal. The good news? Each one has a straightforward fix.
The real problem isn't that these mistakes happen — it's that they keep happening because nobody explains what's actually going wrong. You'll see a collapse and think "my clay was bad" when really it's your technique. You'll get frustrated with centering and think you're just not cut out for this. But we've worked with hundreds of people who went from struggling with these exact problems to throwing clean, consistent pieces.
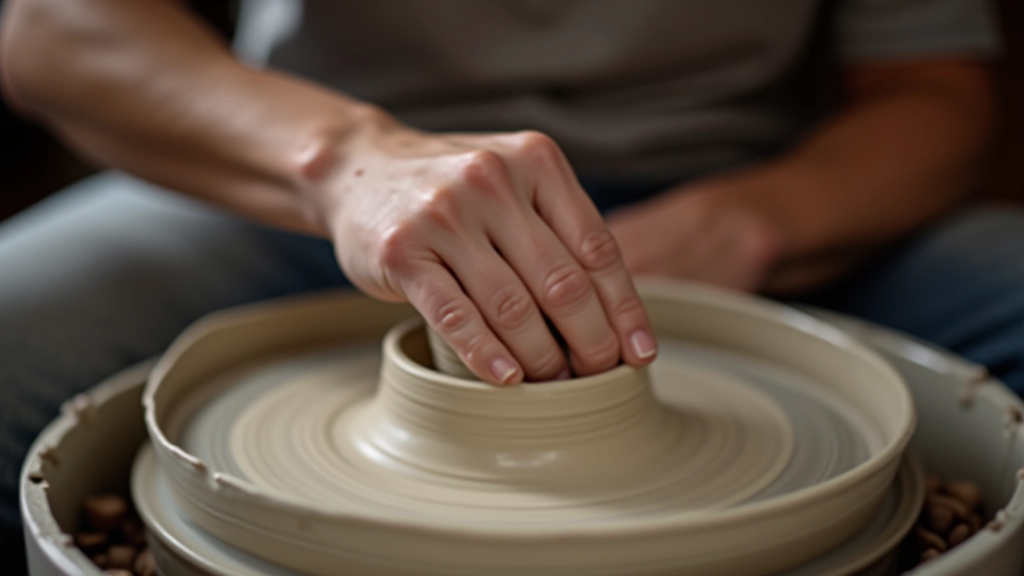
This is the most common mistake. Your walls are either paper-thin on one side and chunky on the other, or they're consistently too thick to work with. What causes it? You're either not pulling up evenly, or you're pulling too much clay on the first lift.
Here's the fix: Start with consistent wall thickness from the bottom up. When you lift, move your hand up at the same speed on both the inside and outside. Don't yank the clay. Steady, even pressure. Aim for about 1/4 inch thickness for beginner pieces — thick enough to hold its shape, thin enough to actually trim and finish later.
Educational Note: This guide is designed to help beginners understand common throwing techniques and challenges. Everyone's learning curve is different, and hands-on instruction from an experienced teacher is invaluable. Consider joining a beginner pottery class where an instructor can observe your specific technique and provide real-time feedback.
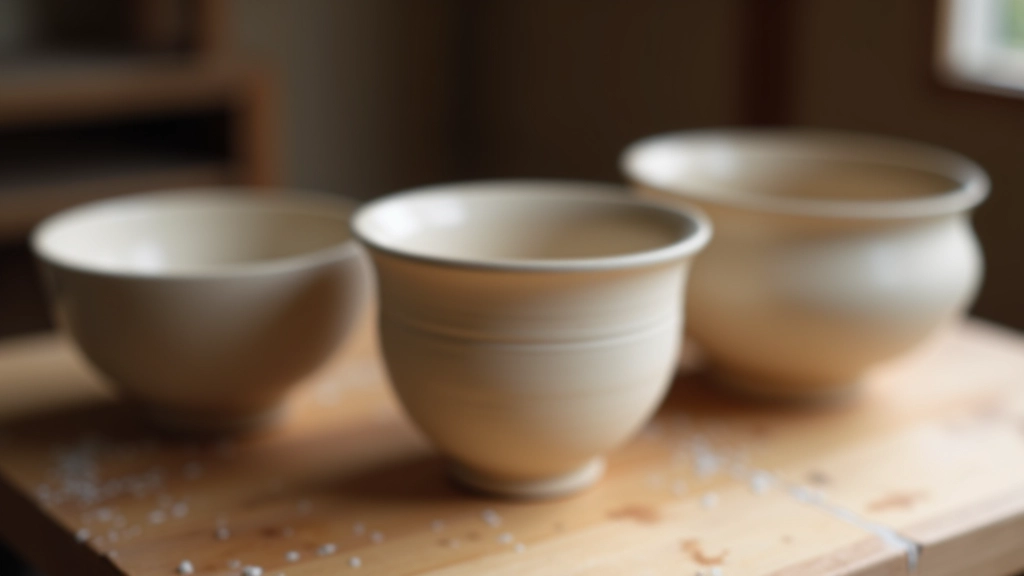
The wheel is spinning, you've got clay on it, but it's wobbling all over the place. You can't get a clean wall because the clay itself isn't sitting right. Centering is genuinely the hardest part for beginners, and it's also the most important.
The fix takes patience. You're not "forcing" clay to center — you're guiding it. Place your hand firmly but not aggressively on the clay. Let the wheel's rotation do the work. You're just showing the clay where center is. Start at the bottom, move your hands slowly upward as the clay centers. It shouldn't take more than 30 seconds on a properly centered lump.
Most beginners use too much pressure and too much speed. Dial the wheel down to about 60-70% of top speed for centering. Keep your hands steady. Breathe. It'll click eventually.
You've thrown a decent bowl, but the rim is either razor-thin and fragile, or it's got a thick rolled edge that looks unfinished. The problem happens during your final passes on the clay. You're either pulling too much clay out at the top, or you're not finishing the edge properly.
When you're in your last lift, keep your fingers closer together and move them up past the top of the piece slowly. Don't squeeze. Let the rim finish naturally. If you want a thicker, more durable rim, don't pull all the way to the edge — stop about half an inch below and let that extra clay form your rim.
After throwing, you can trim the rim with a needle tool if it's rough, or just leave it as-is for a softer look. Both are fine. The key is being intentional about it instead of letting it happen by accident.

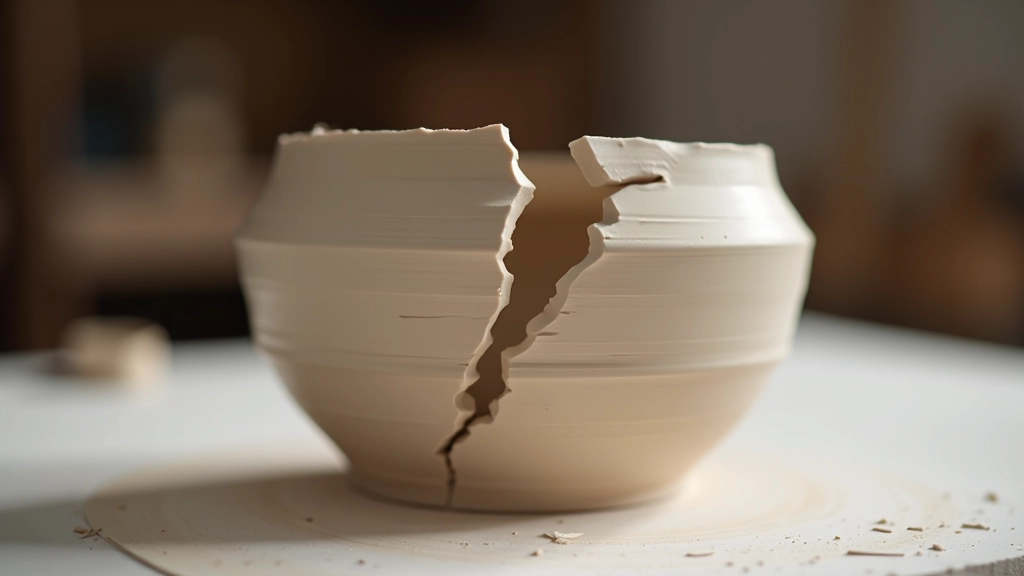
The worst feeling in pottery. You're making progress, the piece looks good, and suddenly it just falls in on itself. Either the whole thing crumbles or one side caves in. This usually means one of three things: your walls got too thin, you were pulling too fast, or the clay wasn't quite moist enough.
The fix is multi-part. First, keep your walls thicker than you think they need to be. Second, work more slowly. Speed comes later. Third, have a spray bottle handy and mist the clay lightly if it starts to feel stiff. Not soaked — just enough moisture to keep it plastic.
Also, don't get greedy. A beginner bowl doesn't need to be huge or dramatic. A 4-inch bowl with clean, even walls is infinitely better than a 6-inch bowl that collapses halfway through.
Your hands are either too tense, too far from the clay, or working against each other instead of with the wheel. You see experienced potters and their hands look almost relaxed. That's not luck — that's position and practice.
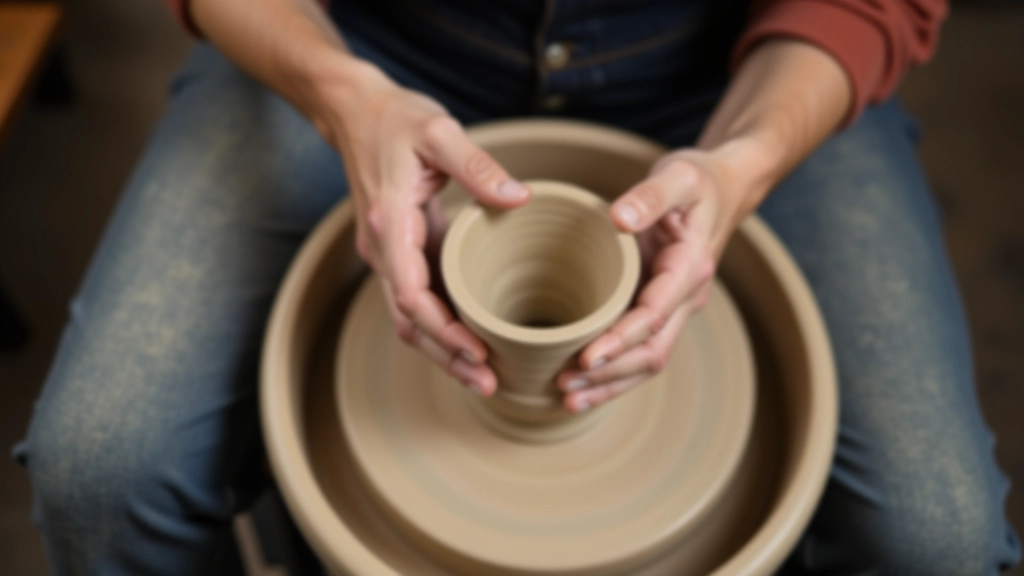
Your outside hand should support the clay. Your inside hand does the lifting and shaping. They work together, not in competition. Brace your elbows on your legs or the wheel's edge if you need to. Keep your wrists relatively straight — not bent at weird angles. The more stable your arms, the more control you'll have.
Tension makes clay respond poorly. If you're gripping hard, the clay tenses up too. Relax your shoulders. Breathe. Your hands will be steadier and the clay will cooperate.
These five mistakes aren't failures — they're normal parts of learning. Every potter who's ever thrown clay has dealt with all of them. The difference between someone who improves and someone who doesn't is simple: they pay attention to what went wrong and try something different next time.
Keep throwing. Your hands will remember what good clay feels like. Your muscle memory will build. Within 6-8 weeks of regular practice, you'll notice these problems disappearing. You won't be making museum-quality pieces, but you'll have clean, functional bowls that actually look intentional.
The real trick? Show up and do the work. Consistency beats talent every single time.
Continue your pottery learning journey
Why centering feels impossible at first, what's actually going wrong, and the techniques that make it click.
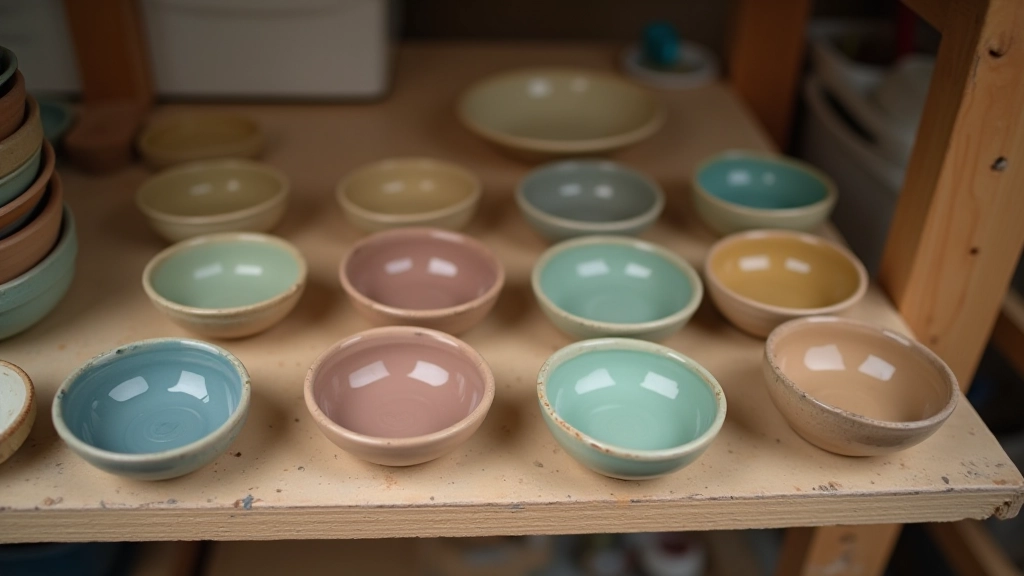
Different glazing methods for thrown pottery, how to avoid common issues like crawling and pinholing.
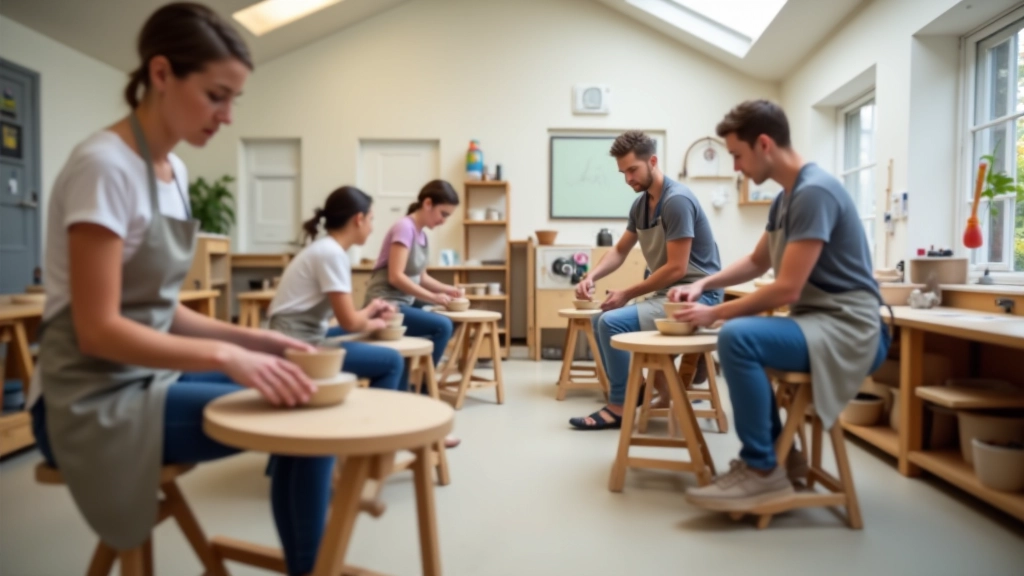
Guide to finding and choosing beginner pottery wheel classes, what a typical weekend workshop includes.