Why Glazing Matters More Than You Think
A pot without glaze is just clay. It won't hold water. It'll chip easily. It won't feel good in your hand. But here's the thing — glazing isn't some mysterious chemical process that only experts understand. It's functional. It's protective. And once you know what you're doing, it becomes one of the most satisfying parts of making pottery.
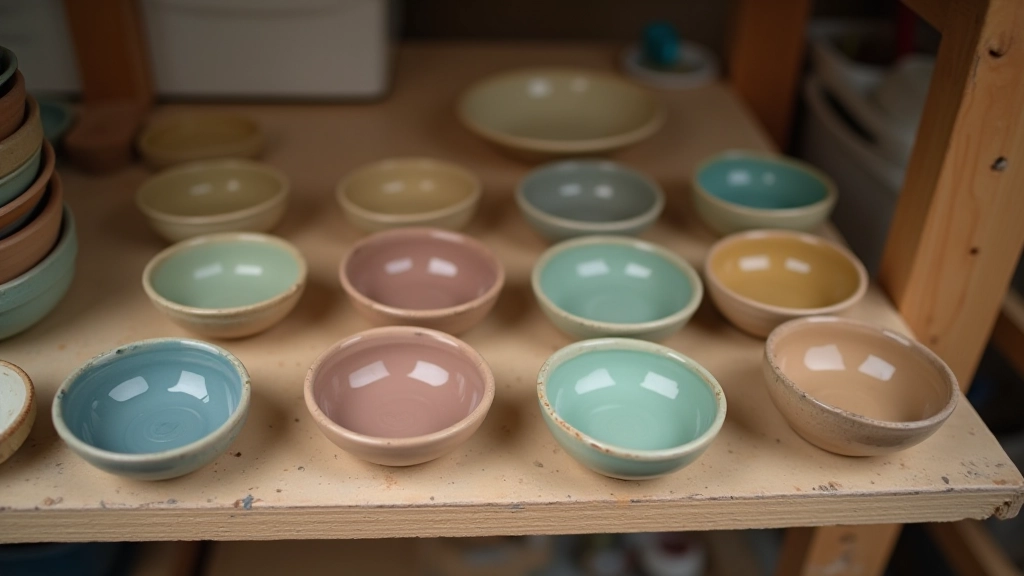
Most glazes are made from minerals mixed with water. When you fire your piece, the minerals melt and fuse to the clay body. Different temperatures create different results. Different mineral combinations create different colors and textures. It's actually pretty logical once you stop treating it like magic.
The Main Glazing Methods
You've got options. Dipping is the fastest. Brush application gives you control. Spraying is smooth but requires ventilation. Pouring works for the inside of bowls. Most beginners start with dipping because it's forgiving and consistent.
Dipping means literally dunking your piece into a bucket of glaze. You hold it for 2-3 seconds. The glaze sticks to the clay. That's it. The trick is making sure your glaze mixture has the right thickness — too thick and it'll drip off, too thin and you'll get patchy coverage. You want it the consistency of heavy cream.
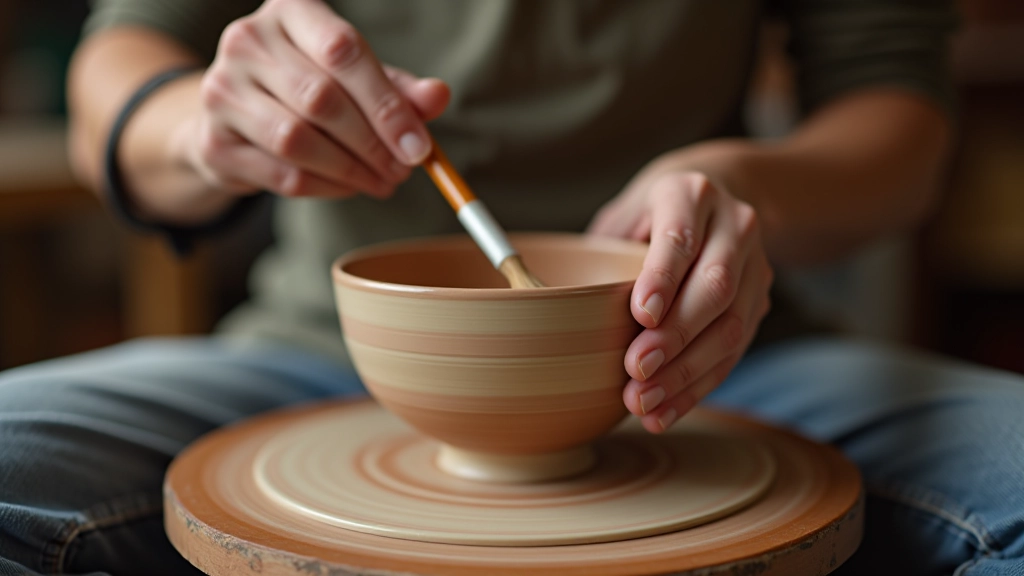
Brush application is best for detail work. You can paint on patterns. You can blend colors. It takes longer but you get precision. The downside? You'll see brush strokes unless you're careful. Keep your brushstrokes in the same direction and don't go over the same spot twice.
Common Problems and Fixes
Crawling
Glaze pulls back and leaves bare spots. Usually happens because your bisque fired too hot or the glaze is too thick. Solution: Apply thinner layers or fire at a lower temperature.
Pooling
Glaze collects at the bottom of your piece and gets thick. It can fuse to the kiln shelf if it runs too much. Solution: Apply less glaze on the bottom. Leave bare clay at the very base.
Uneven Color
One side looks darker than the other. Usually from uneven thickness. Solution: Practice consistent dipping depth. Make sure your glaze is mixed well before each dip.
What Works Best for Functional Pieces
If you're making bowls or mugs that people will actually use, you've got to think practically. The glaze needs to be food-safe. It needs to be durable. It needs to handle being washed and used hundreds of times.
Avoid lead-based glazes — they're out anyway. Look for glazes that are labeled "food-safe" or formulated specifically for dinnerware. Fire them to the temperature the glaze requires. Underfired glaze is porous and will stain. Overfired glaze gets too glossy and can bubble.
Mat glazes feel nice on functional pieces. They're less slippery in your hand than shiny glazes. Satin finishes split the difference. If you're glazing a mug, don't glaze the rim completely — leave a tiny line of bare clay so the piece won't be slippery against your lip.
About This Guide
This guide is educational information for beginners learning pottery techniques. Results depend on your specific clay body, glaze materials, kiln type, and firing temperature. Always test glazes on sample tiles before applying to finished pieces. Follow safety guidelines when handling glazes and operating kilns. If you're taking classes, follow your instructor's specific protocols and recommendations.
Your Glazing Workflow
Test First
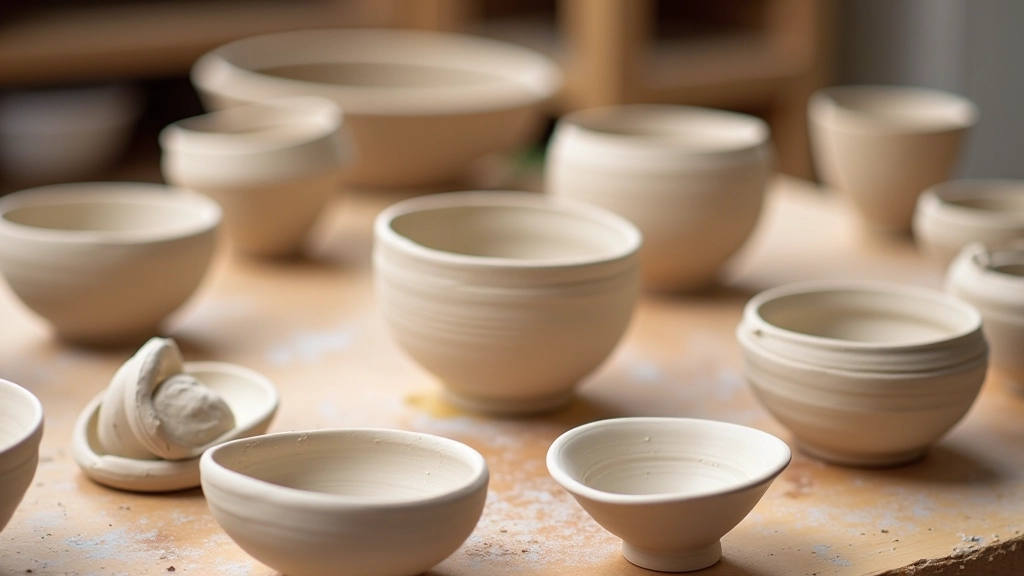
Make test tiles or small bowls with every glaze you want to use. Fire them. See what they actually look like. Don't guess.
Prepare Your Piece
Make sure your bisque-fired piece is clean. Dust off any loose clay. Wipe the bottom with a damp sponge so it won't be too porous.
Apply Glaze
Whether you're dipping, brushing, or pouring — apply evenly. Aim for the thickness of a credit card. Don't glaze the very bottom.
Dry and Load
Let glaze dry completely before loading the kiln. 24 hours is safe. This prevents flaking. Load pieces so they don't touch the kiln walls or each other.
The Real Secret
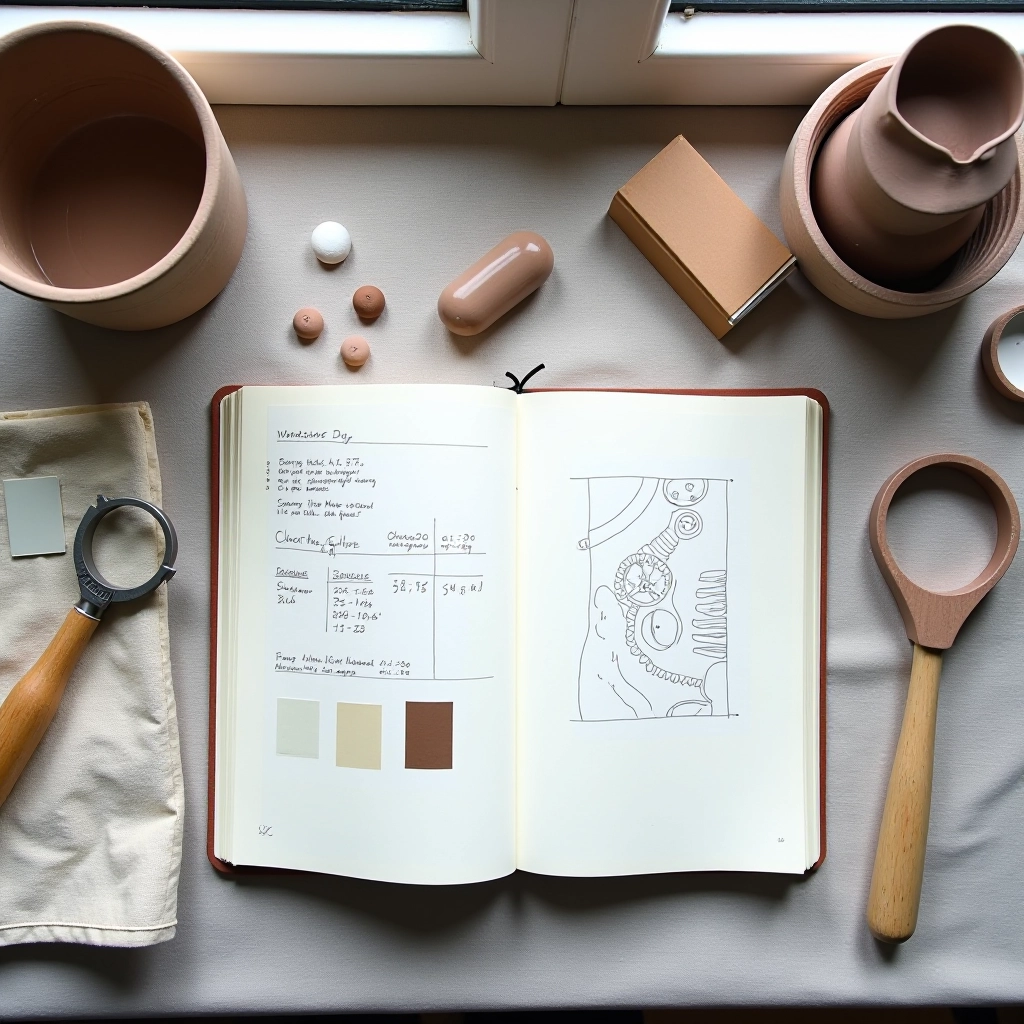
Here's what they don't always tell you: glazing gets better with repetition. Your first pieces will probably have issues. The pooling will be uneven. Maybe a color will surprise you. That's normal. That's how you learn what works. Keep notes about what you used and what happened. Fire temperature matters. Kiln position matters. Glaze thickness matters. After a dozen pieces, you'll start to predict results instead of hoping for them.
The practical part? Start with reliable glazes. Test everything. Apply consistently. Fire properly. Don't overthink it. Your pots will tell you what they need.